
You don’t need a cart full of fancy ornaments to make the tree look elevated. You need scale, cohesion, and good placement. There’s a $2 move that fakes all three: wide ribbon and clusters. One spool and a pack of ornament hooks turns a box of cheap balls into something that looks styled—fast.
This is the trick we use when we want photos to pop without buying more decor.
Start with a tight color story
Pick one metal, one neutral, and one accent. For example: gold, white, and deep green. Everything else sits this year out. Cheap ornaments look expensive when the colors agree. Gather all your “maybes” on the table and pull anything that doesn’t belong. You’ll use fewer pieces and the tree will read intentional.
If your collection is all over the place, group small balls by color and plan to cluster them.
Use wide ribbon to create movement

A 2.5–3 inch wired ribbon in a single color changes the whole tree for a couple of dollars per roll. Start at the top and work in soft S-curves, tucking into branches and letting it billow back out. Don’t wrap like a barber pole. Tuck, billow, clip. The ribbon fills gaps and adds that “designer” look without one pricey ornament.
If wired ribbon is sold out, cut strips from a cheap, thin fabric. Tuck the raw edges deep. No one will know.
Cluster small ornaments for instant scale
Cheap balls are tiny. Clip three of the same color onto one hook to make a “grape.” Hang clusters in triangles around the tree—high, mid, low. This creates rhythm and makes $5 worth of ornaments look like $30. Put the best clusters at eye level and near lights so they glow.
If finishes don’t match, place matte deeper in and shiny toward the front to blend.
Layer lights for depth, not length
Push one strand deep toward the trunk and snake the next closer to the tips. Small trees often need only two or three strands if you layer. Old and new lights can mix: warm white inside, cooler white outside. Clusters catch the light and throw it around, which helps the whole “expensive” effect.
Check for dark patches by stepping back and squinting. Fill those first.
Use natural texture as “premium” fillers
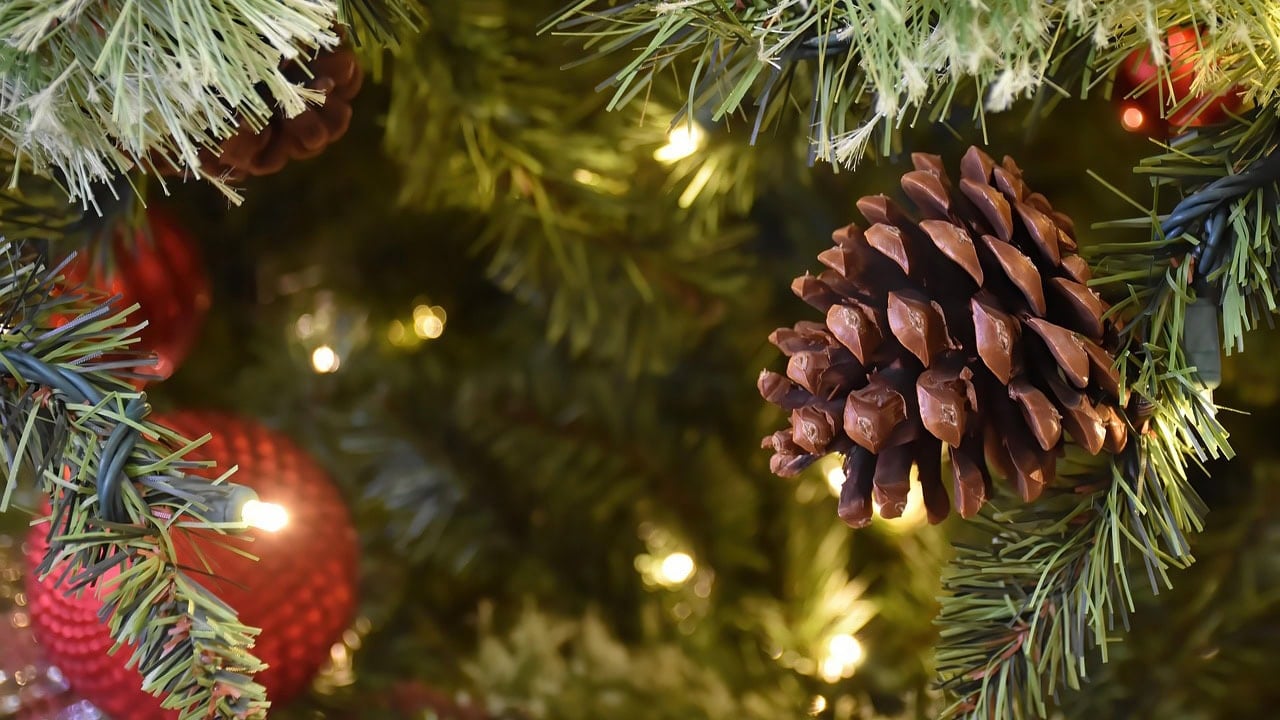
Dried orange slices, pinecones, cinnamon sticks tied with twine—these cost pennies and look like a plan. Tuck near ribbon turns and between clusters. Texture breaks up the plastic sheen of budget ornaments and makes everything read warmer.
If oranges feel like work, grab whole star anise and tuck a few. Tiny, but it works.
Lift the tree instead of adding more ornaments
If your tree still feels short or sparse, raise it. Set the stand on a covered crate and secure it. The added height changes how your eye reads the proportions. Fill the base with wrapped boxes or a basket for the stand. Suddenly the same number of ornaments feels right.
Keep kids safe. If little ones will tug, skip the lift this year.
Fix scratches and gaps with two quick cheats
Scuffed balls? Face the good side out and call it done. Big gap? Twist a bendy branch from the back toward the hole and hang your cluster there. Ribbon hides crimes. You don’t need perfection—you need the “from across the room” effect.
Take a photo from the doorway. If it looks good there, you nailed it.
You can make the tree look high-end for $2 when you focus on color, ribbon, and clusters. Add a little natural texture, layer lights, and raise the base if you need more presence. It’s fast, it’s cheap, and it works every single time.
*This article was developed with AI-powered tools and has been carefully reviewed by our editors.
Leave a Reply