
10 DIY tricks that made my space look better for under $20
You don’t need to spend a fortune to make your space feel better. Half the time, it’s not about buying something new—it’s about tweaking what you’ve already got or using $15 in a smarter way. These are all small projects that actually made a difference, not trendy ideas that look good on Pinterest but flop in real life.
Every one of these was under $20, made with stuff from a local store or already in my garage, and made the space feel more finished or more put-together fast.
Swapped Out Old Outlet Covers
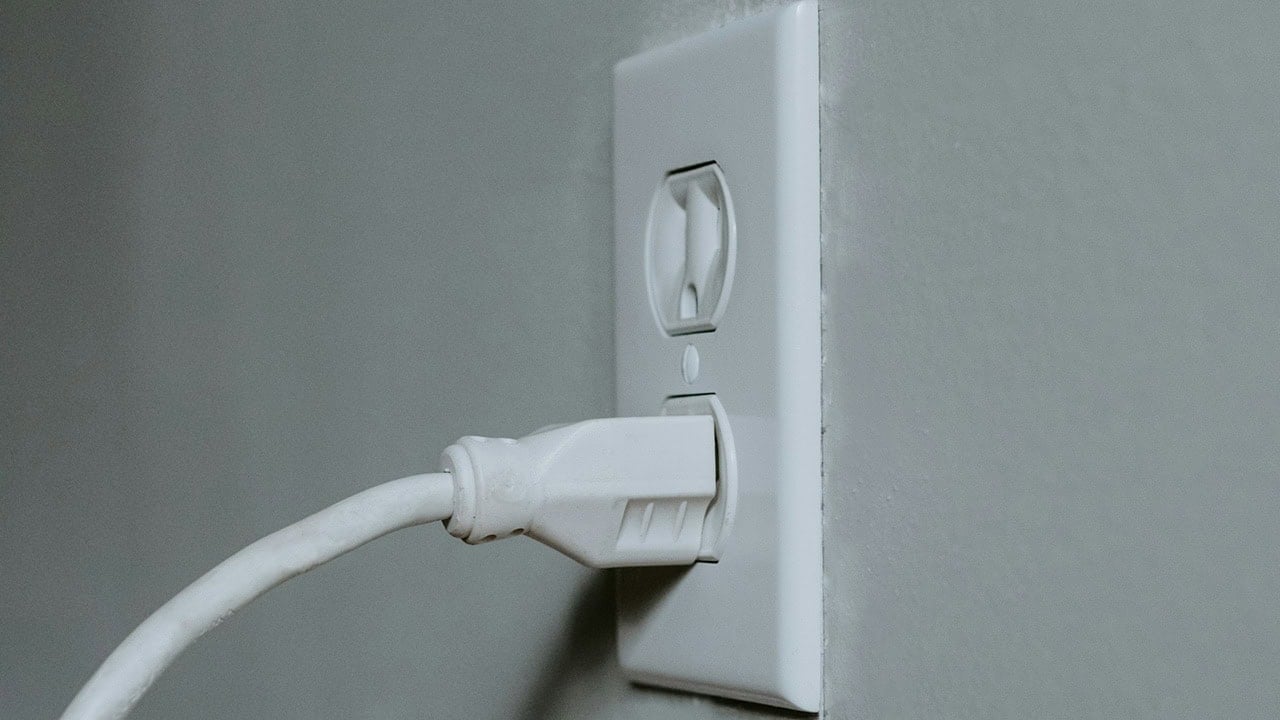
Old, yellowed outlet covers make a room look dated even when everything else is clean. Swapping them out for new white ones made a bigger difference than I expected.
You can get a ten-pack for under $10 at most hardware stores, and they’re easy to replace with a screwdriver. It’s one of those little updates that gives everything around it a cleaner look, especially if you’ve freshly painted or have white trim.
Painted Door Hardware Matte Black
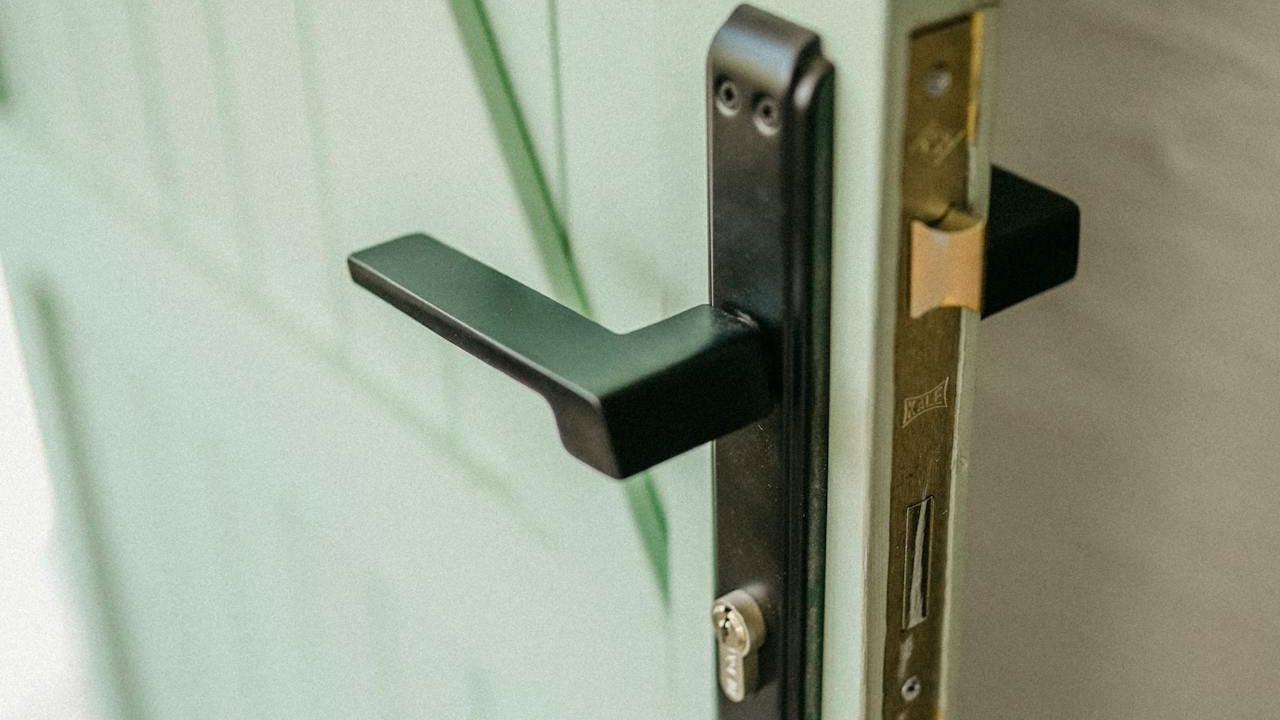
I had shiny gold knobs and hinges that didn’t match anything else in the house. Instead of replacing them all, I sprayed them matte black.
It cost me about $6 for a can of Rust-Oleum, and I did one door at a time. Now they actually look intentional, and the finish has held up surprisingly well. It’s an easy win if you’re trying to stretch a small upgrade budget.
Framed a Builder-Grade Mirror

Those big bathroom mirrors with no frame make the whole space feel unfinished. I used $14 worth of trim and corner brackets to give ours a frame.
I cut the trim with a miter box, glued it on, and painted it to match our cabinets. It made the whole bathroom feel more designed without touching anything else. You’d be surprised what a frame does to elevate a basic mirror.
Spray Painted Floor Vents
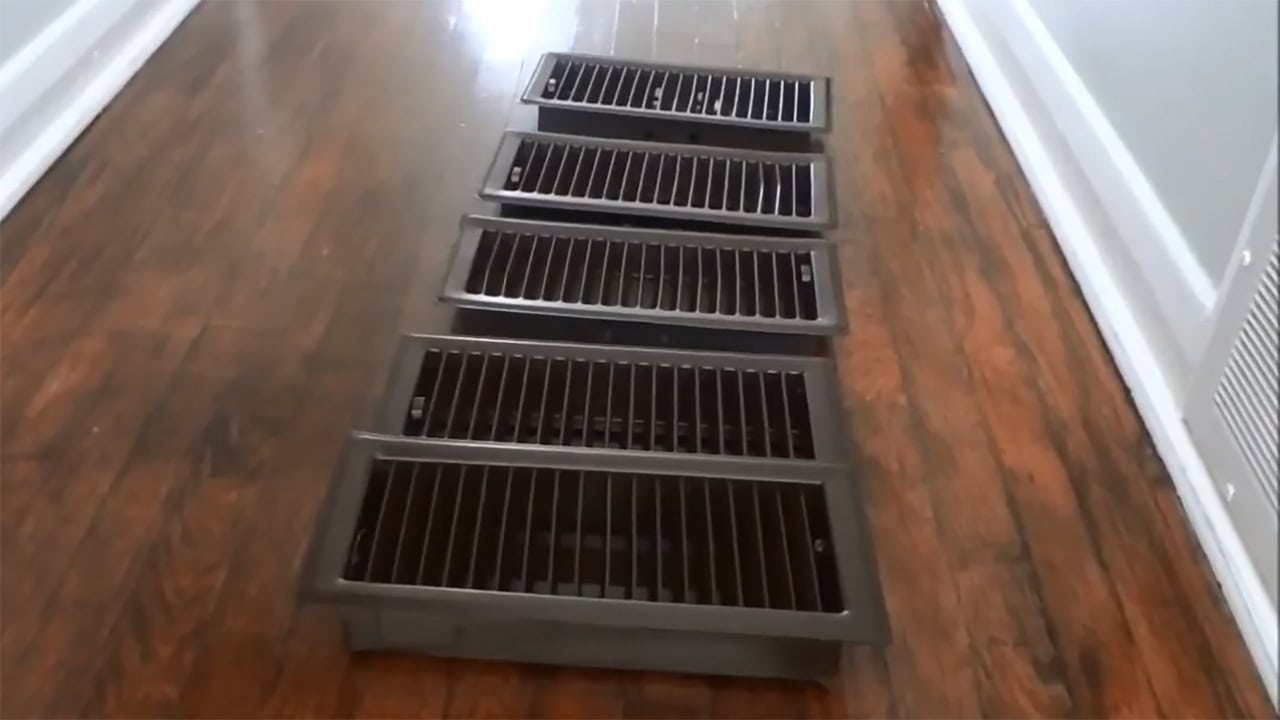
I had rusted old floor vents that stuck out in the worst way. Instead of buying new ones, I cleaned them up and spray painted them to match the floors.
For under $10, the whole look changed. They went from being eyesores to completely blending in. It’s not a flashy upgrade, but it made the room feel more finished and saved me from buying all new covers.
Made a Faux Wood Beam
Using two furring strips and wood stain, I boxed in a ceiling seam that always looked awkward. The wood cost around $9 total.
It took a little patience to get the angles right, but the end result looked like a real decorative beam. You can do this around awkward ceiling angles or along a hallway for cheap architectural detail that looks way more expensive than it is.
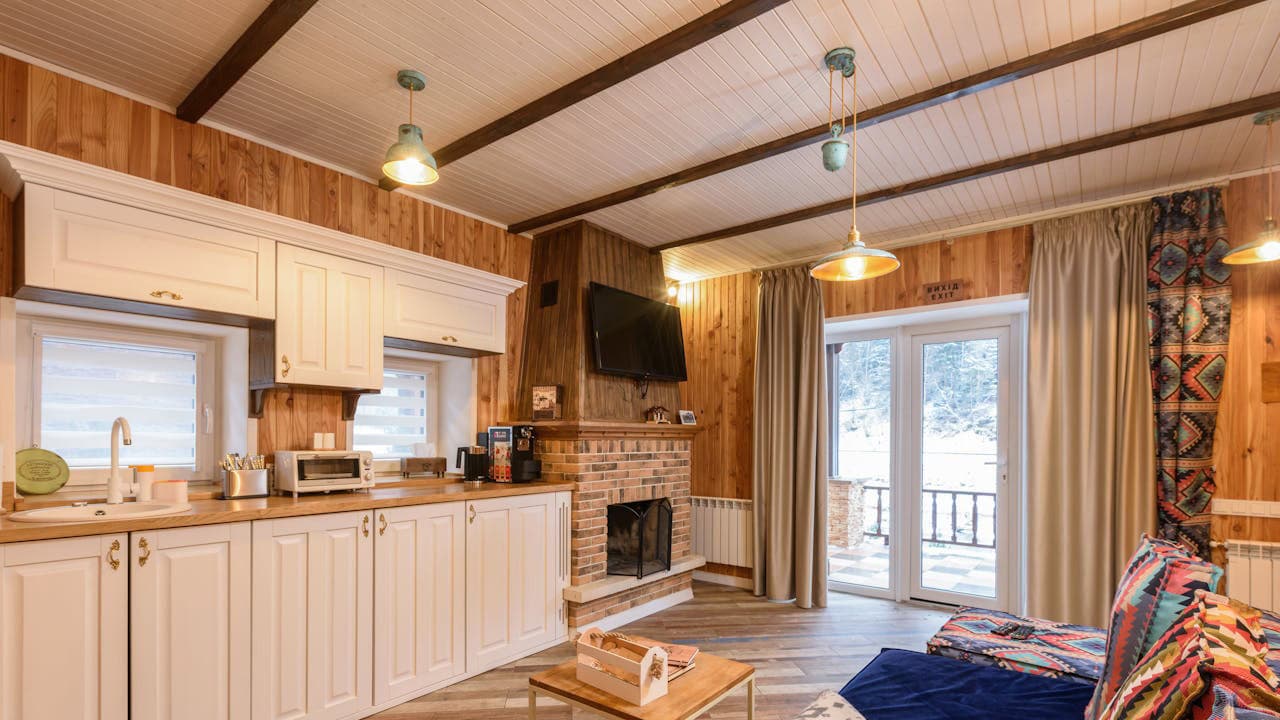
Swapped Yellow Light Bulbs for Daylight LEDs
My rooms used to feel dark and dingy no matter how clean they were. I finally switched to daylight LED bulbs—and it made a huge difference.
You can grab a 4-pack for around $10. The cooler-toned light makes paint colors and furniture look cleaner, and it instantly made my home feel brighter without touching the walls or windows.
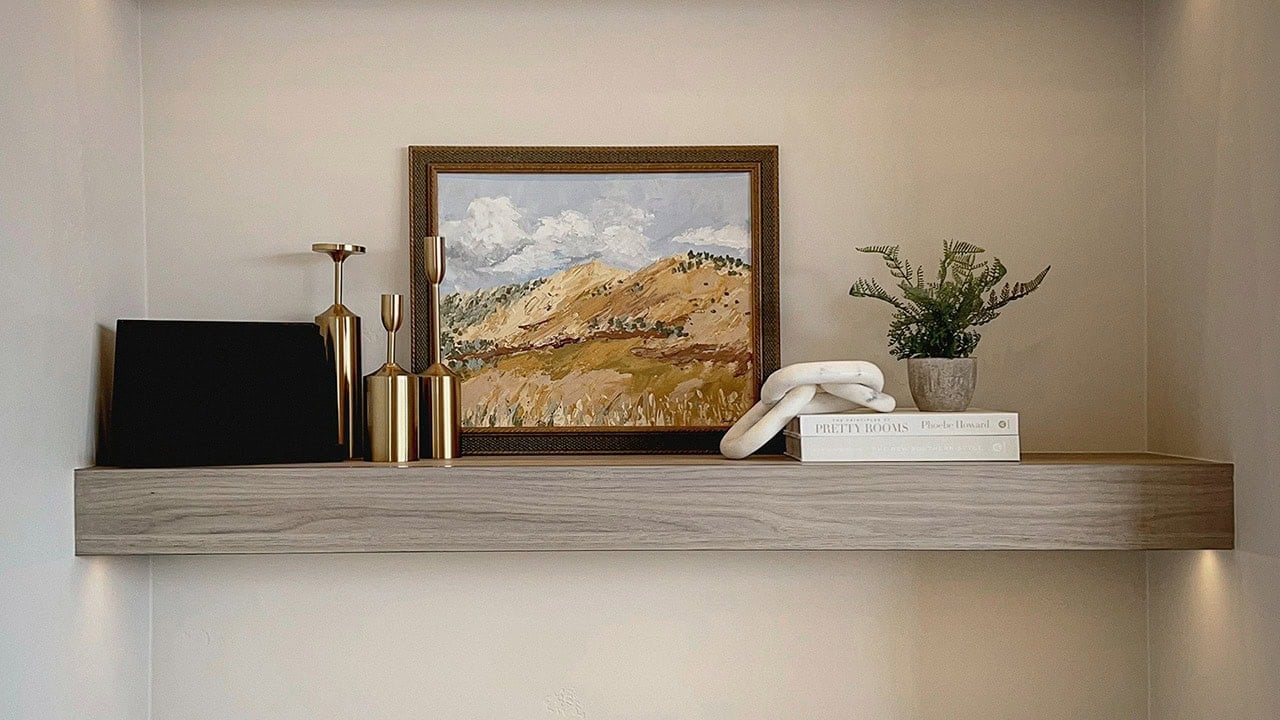
Built a Ledge Shelf from Scrap Wood
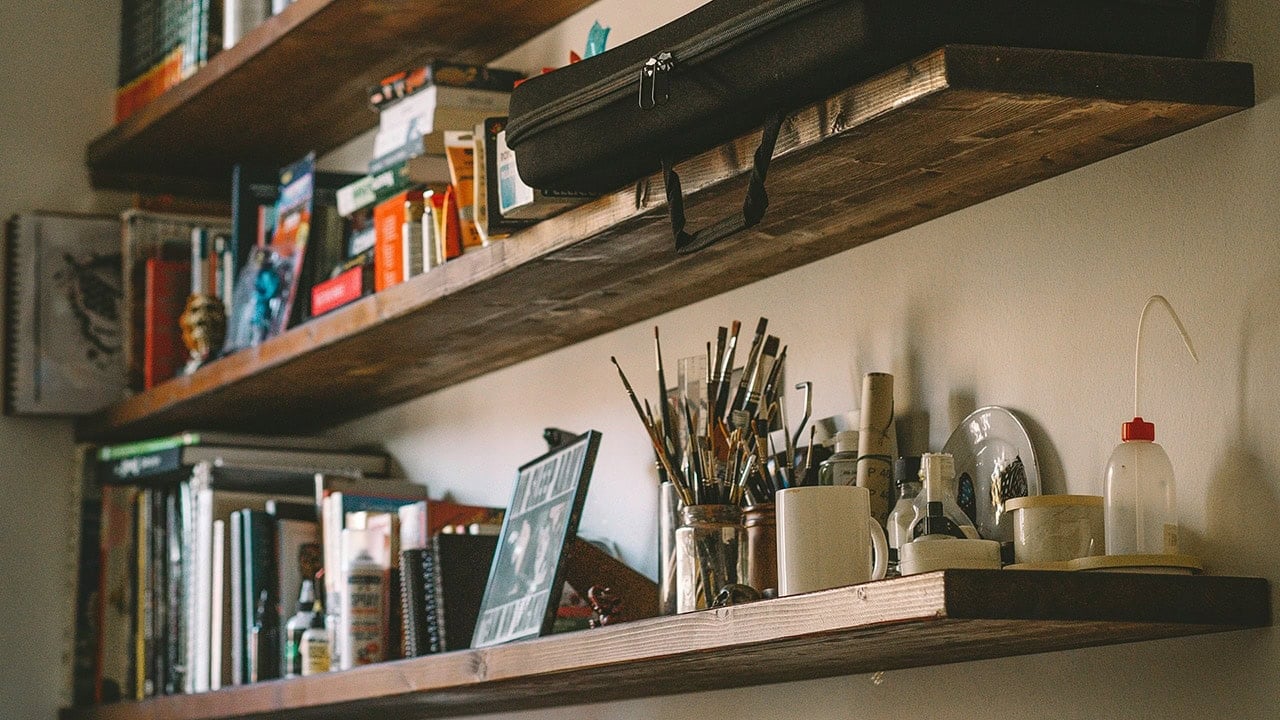
I had leftover 1x2s and 1x4s from another project, so I threw together a narrow ledge shelf for photos. Even if you have to buy the wood, it’ll cost you less than $10.
I painted it to match the wall, hung it above the couch, and now it holds family pictures without needing a bunch of nails. It adds warmth and personality without looking cluttered.
Added Cabinet Hardware

Our kitchen cabinets didn’t come with knobs, and they looked bare. I found a pack of basic black knobs online for under $20 and installed them myself.
It took about an hour with a drill, and it made the whole kitchen look more intentional. Even basic hardware can elevate cabinets that aren’t getting replaced anytime soon.
Covered a Scuffed Table with Contact Paper
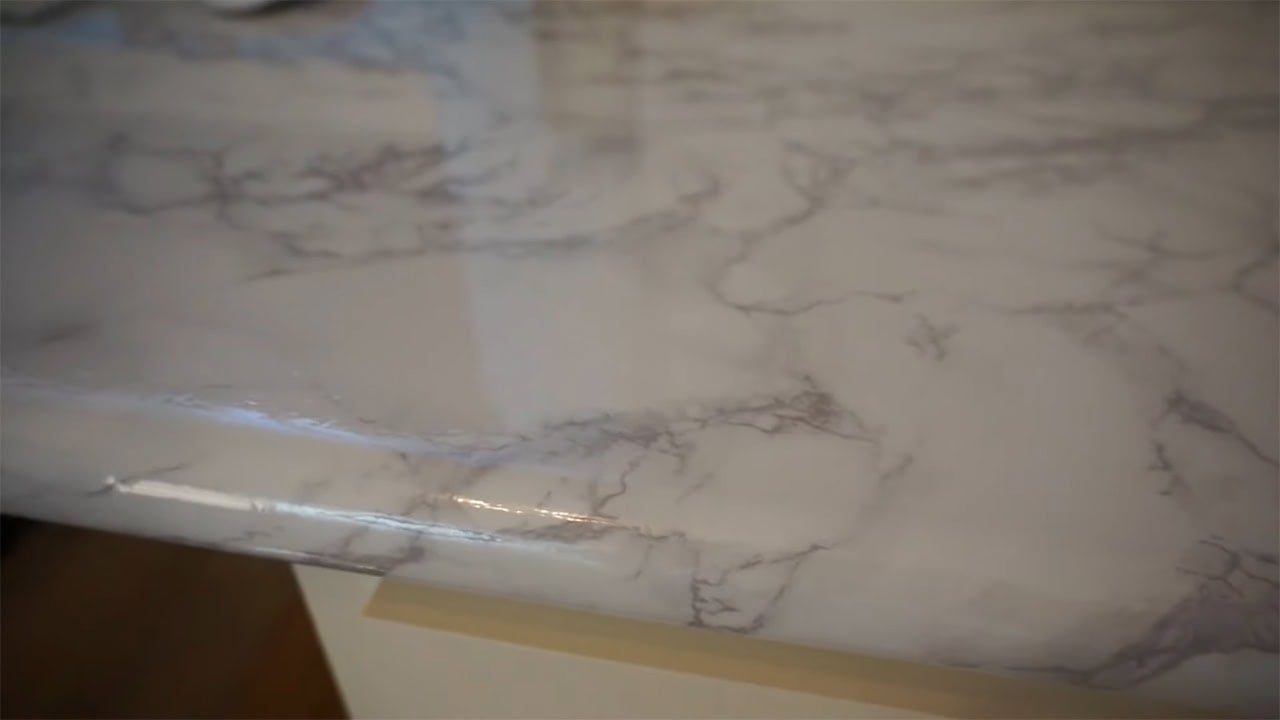
I had a small side table that was all scratched up but still functional. I used faux marble contact paper to cover the top for under $8.
It held up better than I expected, and nobody knows it’s not real unless I tell them. If you’ve got a piece that’s too beat up to leave bare but not worth replacing, this is a solid fix.
Caulked the Baseboards
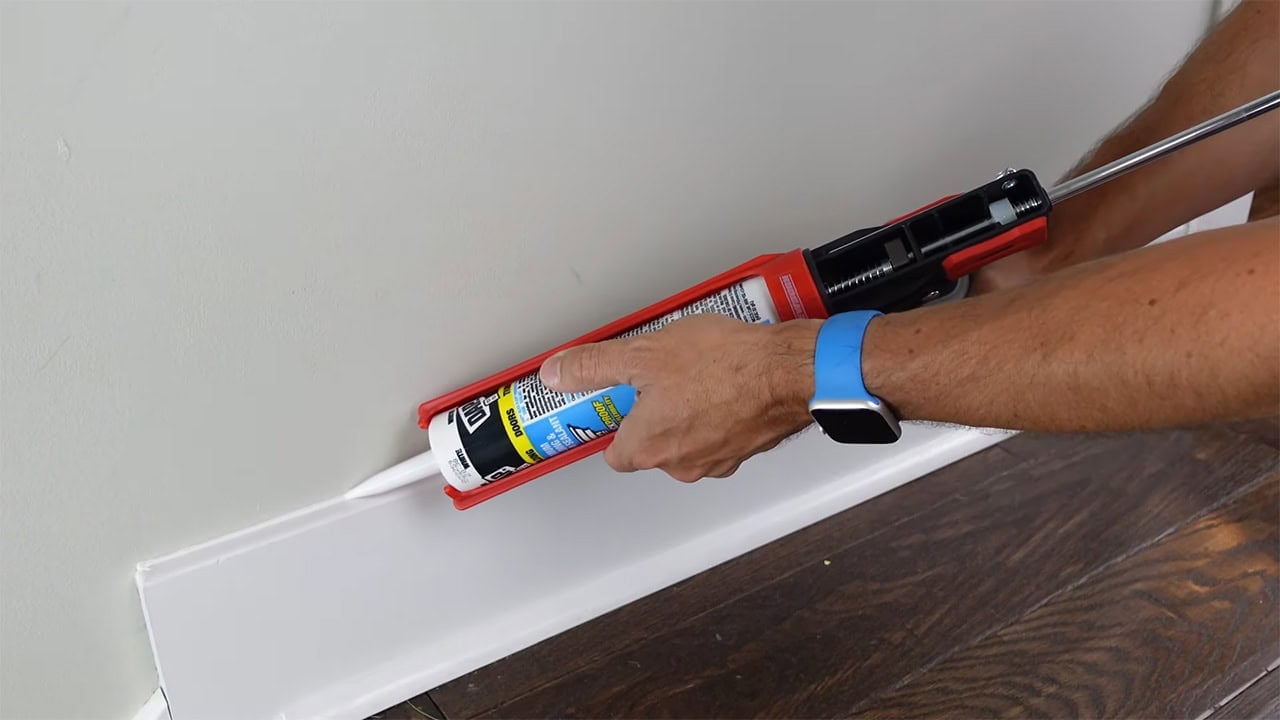
There were gaps between my baseboards and walls that made the whole room look unfinished. A $3 tube of caulk fixed it.
It’s a little tedious, but it makes everything look more seamless. If you’re painting anyway, this step makes a big difference and makes your walls look way more professional, even with basic trim.
*This article was developed with AI-powered tools and has been carefully reviewed by our editors.
Leave a Reply